Buyer guide / Sample approval
Toilet Quality Inspection: Sample Approval Checklist
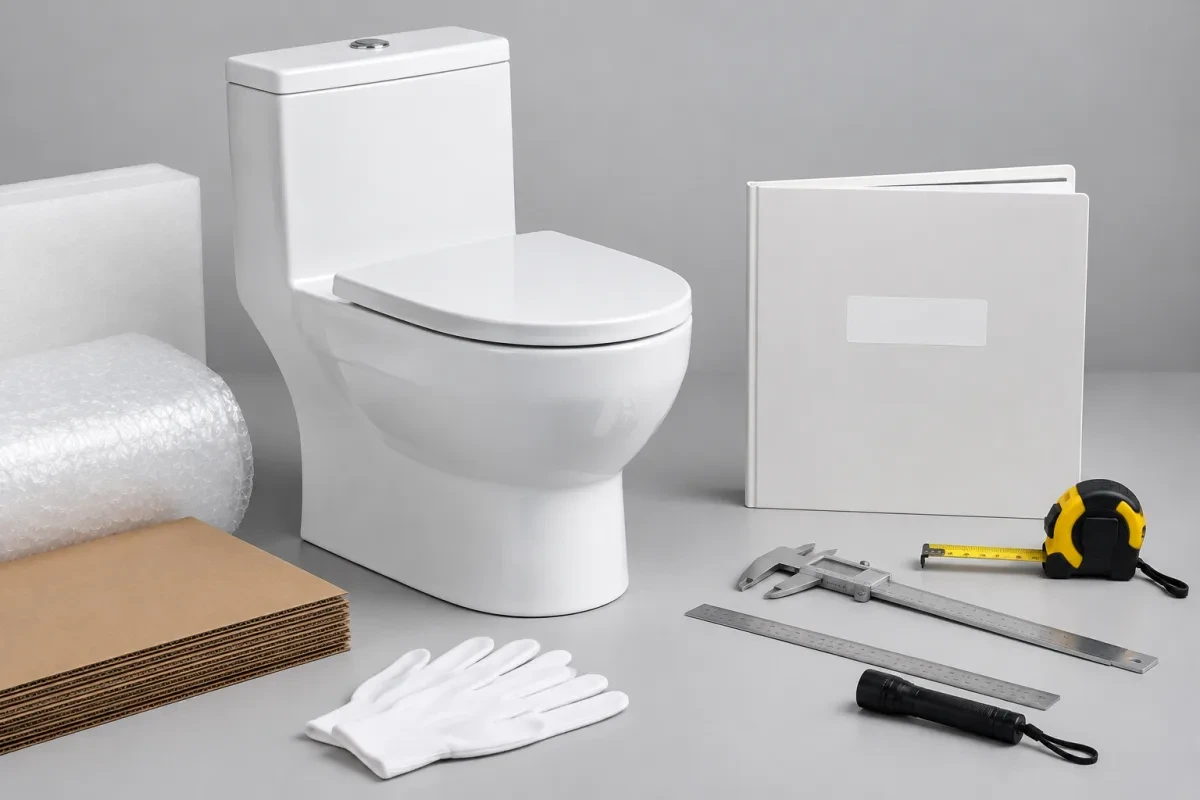
A toilet can arrive with a clean glaze and still fail your installation. Before approving a bulk order, check the sample against the drawing, assemble the supplied parts, observe operation and record what needs correcting.
What should a toilet sample inspection cover?
Toilet quality inspection before ordering should cover six areas: sample identity, ceramic and assembly, installation fit, flushing and leakage, model documents, and production packaging. Approve the reviewed configuration only after the agreed checks pass and any differences are resolved in writing.
This checklist is for importers, private-label buyers and project teams reviewing a physical sample. It establishes an order reference. Laboratory testing and inspection of the production batch remain separate decisions.
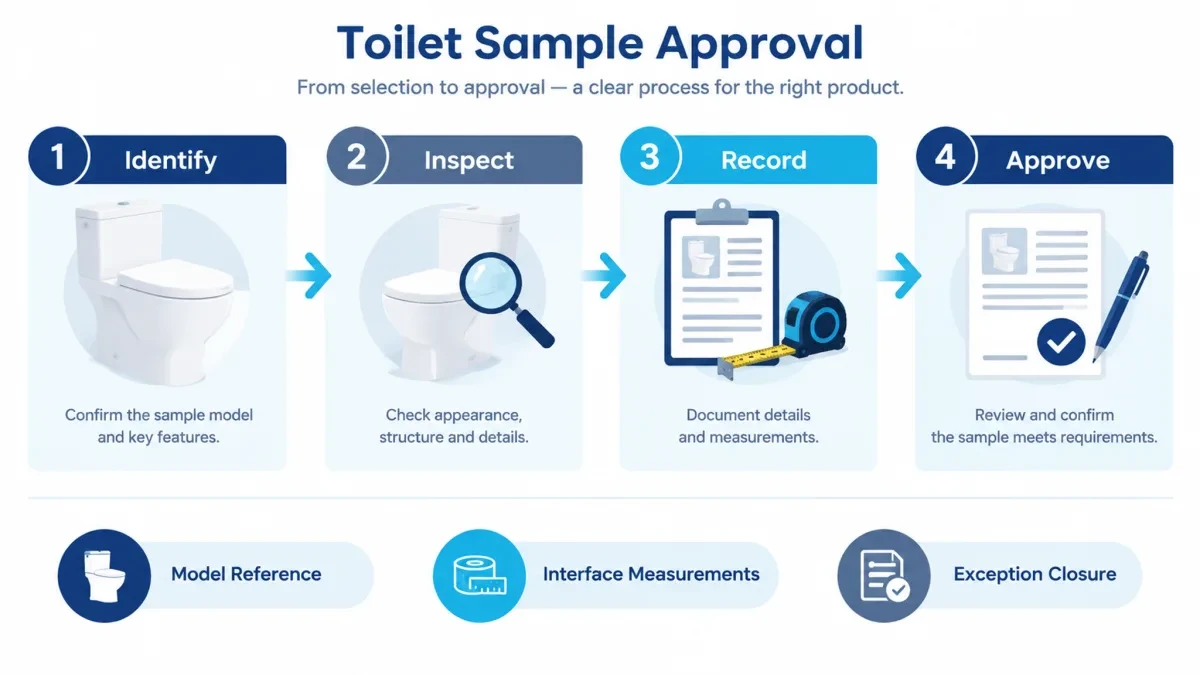
1. Prepare the sample reference before unpacking
Start with the quotation, current installation drawing, parts list and installation instructions. Add the destination market and the intended use. A hotel mock-up may need a room-layout check; a distributor may need to confirm its standard connector and spare-parts range.
Use the toilet and basin sourcing checklist to close missing purchasing inputs before the review. Then agree which checks are required, how they will be done and what counts as acceptance. Do not invent a tolerance after finding a mismatch.
- Assign a sample ID. Photograph the unopened carton, shipping damage and model markings.
- Unpack on a protected, stable surface with suitable handling assistance. Retain the carton and inserts for the packaging review.
- Lay out the seat, hinges, valves, seals, fixings and connectors. Compare every supplied item with the parts list.
- Record the drawing and parts-list revisions beside the sample ID. Ask the supplier to identify any temporary or substituted components.
Choose the review scope deliberately. If two samples use different outlets or flush valves, approval of one does not establish fit or function for the other. Identify which configurations require separate checks before paying for additional samples.
2. Inspect the ceramic, seat and supplied fittings
Clean off packing dust as instructed, then examine the sample under consistent lighting. Look at the front, sides, rim, bowl, tank where present, and accessible mounting and outlet areas. Compare color and appearance with the agreed reference under the same conditions.
Separate surface observations from approval limits
Record cracks, chips, sharp edges, pinholes, glaze runs and uneven visible finish. Note the location and extent of each finding. An inaccessible internal area remains unchecked; do not infer its condition from the outer glaze.
Photograph an overview to locate the issue, then a close-up with a scale. Keep the original files. Put a suspected crack or damage near a sealing or mounting area on hold for technical review. A small cosmetic mark needs comparison with the agreed appearance criteria, rather than an automatic pass or rejection.
Assemble the parts that will actually be shipped
Fit the seat and hinges according to the instructions. Check alignment, lid clearance, normal opening and closing, and removal access if specified. Operate a soft-close mechanism if it is part of the order, and record sticking or interference.
For a two-piece toilet, check the intended tank-to-bowl fittings and gasket. For one-piece toilets, confirm access to the supplied valves and seat fixings. Similar-looking hardware may have different service requirements. Record its identity before discussing whether a substitution is acceptable.
3. Measure the interfaces that decide installation fit
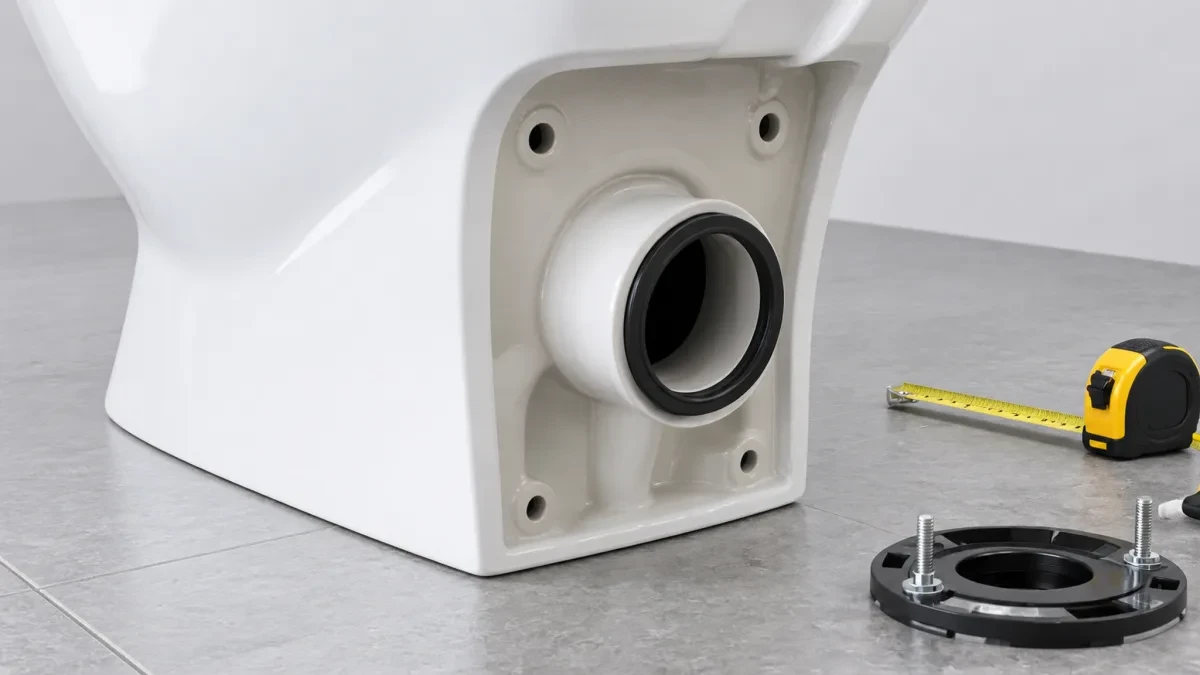
Measure against the drawing's reference points, called datums. Record the required dimension, allowed tolerance, actual measurement and unit together. Measuring from an arbitrary ceramic edge can produce a convincing number that answers the wrong question.
| Interface | What to compare | Why it matters |
|---|---|---|
| Floor outlet / rough-in | Outlet location and the specified finished-wall-to-drain reference | The body must connect to the intended drainage without an unapproved workaround. |
| Rear outlet | Outlet center height, projection and connector clearance | Overall length alone does not establish pipe alignment. |
| Wall-hung mounting | Fixing positions and inlet/outlet interfaces against the intended carrier | A compatible-looking bowl may still miss a connection or mounting point. |
| Water connection and access | Specified connection, valve location and space to install and service it | A fitting can connect correctly but be inaccessible once installed. |
| Room and seat clearances | Body footprint, lid movement and nearby doors, walls or cabinetry | The sample must work in the intended layout, not only on a bench. |
Rough-in dimensions depend on the installation arrangement; there is no single size to assume for every market. For a project, compare the sample with the actual plumbing schedule or mock-up. A tape measurement is useful for screening, while close tolerances may require more suitable tools and an agreed method.
4. Observe filling, flushing and leakage in a documented setup
Have suitable personnel install the sample using the supplied instructions and intended connections. Record the supply conditions, drainage arrangement, valve settings and selected flush mode. If the proposed setup falls outside the instructions, resolve that difference before interpreting the result.
- Observe filling: does the valve shut off at the specified setting, or does water continue running? Record the behavior before adjusting anything.
- Check visible leakage: inspect accessible inlet, tank and outlet joints during filling and after flushing. Dry the outside first so residual water does not obscure the source.
- Operate each supplied flush mode: record actuation, bowl rinse, visible clearance and refill behavior using the agreed procedure. Keep the test conditions with the video.
- Re-check after a correction: document the original finding, the changed setting or part, and the repeated observation. Retain both records.
If a leak appears, establish whether it comes from the installation joint, supplied fitting or ceramic body before accepting a remedy. Ask for a replacement sample when a proposed fix changes the configuration or cannot be verified locally.
A demonstration has a limited purpose
A successful flush shows behavior under the recorded conditions. It does not establish certified water consumption, waste-removal performance or long-term durability. Avoid improvised waste loads and invented pass counts; use an agreed method when making a formal performance claim.
For example, the EPA's WaterSense toilet guidance distinguishes independently certified performance and efficiency from an ordinary demonstration. Verify evidence for the exact model when that label is relevant to the purchasing requirement. For smart toilets, arrange electrical and powered-function checks with qualified personnel following the model's instructions.
5. Check model documents, labels and production packaging
Match the model on the sample, quotation, installation instructions and any supplied test or certification document. Check the listed configuration, issuing body and applicable market scope. A company certificate or a report for another model cannot close a requirement for this sample.
Compare labels and manuals with the agreed artwork and language. Confirm that the installation steps describe the supplied fittings. Use MICAWA's quality and certification information to frame documentary questions, then request the evidence that applies to your selected configuration.
Review the intended shipping pack separately
- Confirm whether the received carton is the production pack or extra protection for courier delivery.
- Check that the agreed inserts locate the ceramic and that loose fittings cannot contact its surface.
- Check protection and identification of the seat, tank lid where present, accessories and instructions.
- Match carton marks, product codes and pack quantities with the shipping specification.
An intact courier delivery is useful evidence about that shipment, but it does not validate the production pack for a different distribution route. ISTA's test procedures distinguish screening tests from shipment simulations. Agree the relevant packaging evaluation and the pack revision it covers.
6. Write the acceptance sheet and decide what can proceed
Use the following toilet sample inspection checklist as a record structure. Add columns for status, corrective action, responsible person and closure date. Leave a requirement pending when it has not been checked; a blank entry must not be read as a pass.
| Check item | Reference / method | Evidence to record |
|---|---|---|
| Identity and parts | Quotation, drawing revision and parts list | Sample ID; body, seat and valve references; missing or substituted parts |
| Ceramic and assembly | Agreed viewing conditions and appearance criteria | Surface zone; finding description; overview and scaled close-up photo IDs |
| Installation interfaces | Drawing datums and intended installation layout | Required value / allowed tolerance / actual measurement / unit |
| Function and leakage | Installation instructions and agreed review procedure | Supply conditions; settings; observations; video ID; unresolved causes |
| Documents and labels | Model evidence list and approved artwork | Document revision; covered configuration; label and instruction discrepancies |
| Production packaging | Pack specification and agreed transport evaluation | Carton and insert references; accessory protection; evidence still required |
Approve, hold or reject?
Approve when the required checks are complete, results meet agreed criteria and exceptions are closed. Name the exact sample, drawing, parts list and packaging revision covered by the decision.
Hold when a difference or missing document needs resolution. A correct body supplied with the wrong seat can justify holding the complete configuration while recording the body checks already completed. It does not justify silently accepting the alternative seat.
Reject the submitted sample when it cannot meet the agreed requirement or a correction requires a different sample. Send a finding list and the evidence, then define what the replacement must demonstrate. Keep the original record for comparison.
Keep partial approval explicit. If appearance is accepted but function is untested, write those two decisions separately. Assign an owner and release condition to the open check. A general “sample approved” email hides that distinction.
7. Lock the approved reference into the bulk order
Attach the acceptance record, approved drawing and parts list to the purchase order. Identify the retained sample and its storage location. Keep signed decisions and dated evidence together so the buyer, supplier and inspector can retrieve the same reference.
Agree written review before changes to the ceramic, seat, valves, seals, labels or packaging. Re-check the affected requirements when a substitution is proposed. A packaging change may need renewed transport evidence even if the toilet itself remains unchanged.
Plan production inspection before the batch is ready
Pre-shipment toilet inspection should use the approved reference, agreed defect definitions, sampling plan and applicable function checks. Sample approval alone says nothing about consistency across the future batch. Do not copy a generic AQL or inspection ratio into the order without agreeing its scope and acceptance rules.
Before releasing the order, ask the supplier to confirm three things in writing: which configuration will be produced, which open requirements must close before production or shipment, and how changes will be authorized.
Prepare a model-specific sample request
Send MICAWA the selected model, destination market, installation layout, required seat and fittings, and your sample acceptance checklist. Include the production-pack requirements and documents you need reviewed. These inputs make it possible to clarify what the sample should contain before it ships.
Frequently asked questions
How many toilet samples should I inspect before ordering?
Choose samples to cover each model and configuration you intend to order. A different outlet, valve, seat or mounting arrangement may need separate review. Agree additional units for destructive or laboratory checks; there is no universal sample count.
What should stop a toilet sample from being approved?
Put approval on hold for cracks, unexplained leakage, incompatible installation interfaces, unidentified components or missing required evidence. Resolve each finding through a correction, documented re-check or replacement sample before releasing the affected scope.
Can I check flushing without installing the sample?
You can inspect parts and movement, but a useful flush observation needs the prescribed water supply and drainage setup. A showroom video or unconnected bowl does not establish behavior in your intended installation.
Is there a universal tolerance for ceramic toilet defects?
Do not use a guessed defect-size or dimensional tolerance. Agree the applicable specification, viewing conditions, measurement method and acceptance limits before reviewing the sample. Record an unresolved finding as pending, rather than silently passing it.
Does approving a sample replace pre-shipment toilet inspection?
No. Toilet sample approval sets the reference for the reviewed configuration. Pre-shipment toilet inspection checks production units against that reference and the agreed batch inspection plan before shipment.
Does a successful flush demonstration prove certification?
No. It records behavior under a particular setup. Certification and performance claims require the applicable method and evidence covering the exact model and configuration. Check destination-market requirements separately.
Should I approve a sample sent in a courier carton?
You may review the product, but identify the packaging review as incomplete if the courier carton differs from the production pack. Obtain the intended pack specification and any agreed transport-test evidence before closing that requirement.
What happens if the supplier changes the flush valve after approval?
Request the new part identity and a written assessment of what changes. Re-check the affected fit, function and documentation before authorizing substitution. Keep the old approval record and link the new revision to it.